
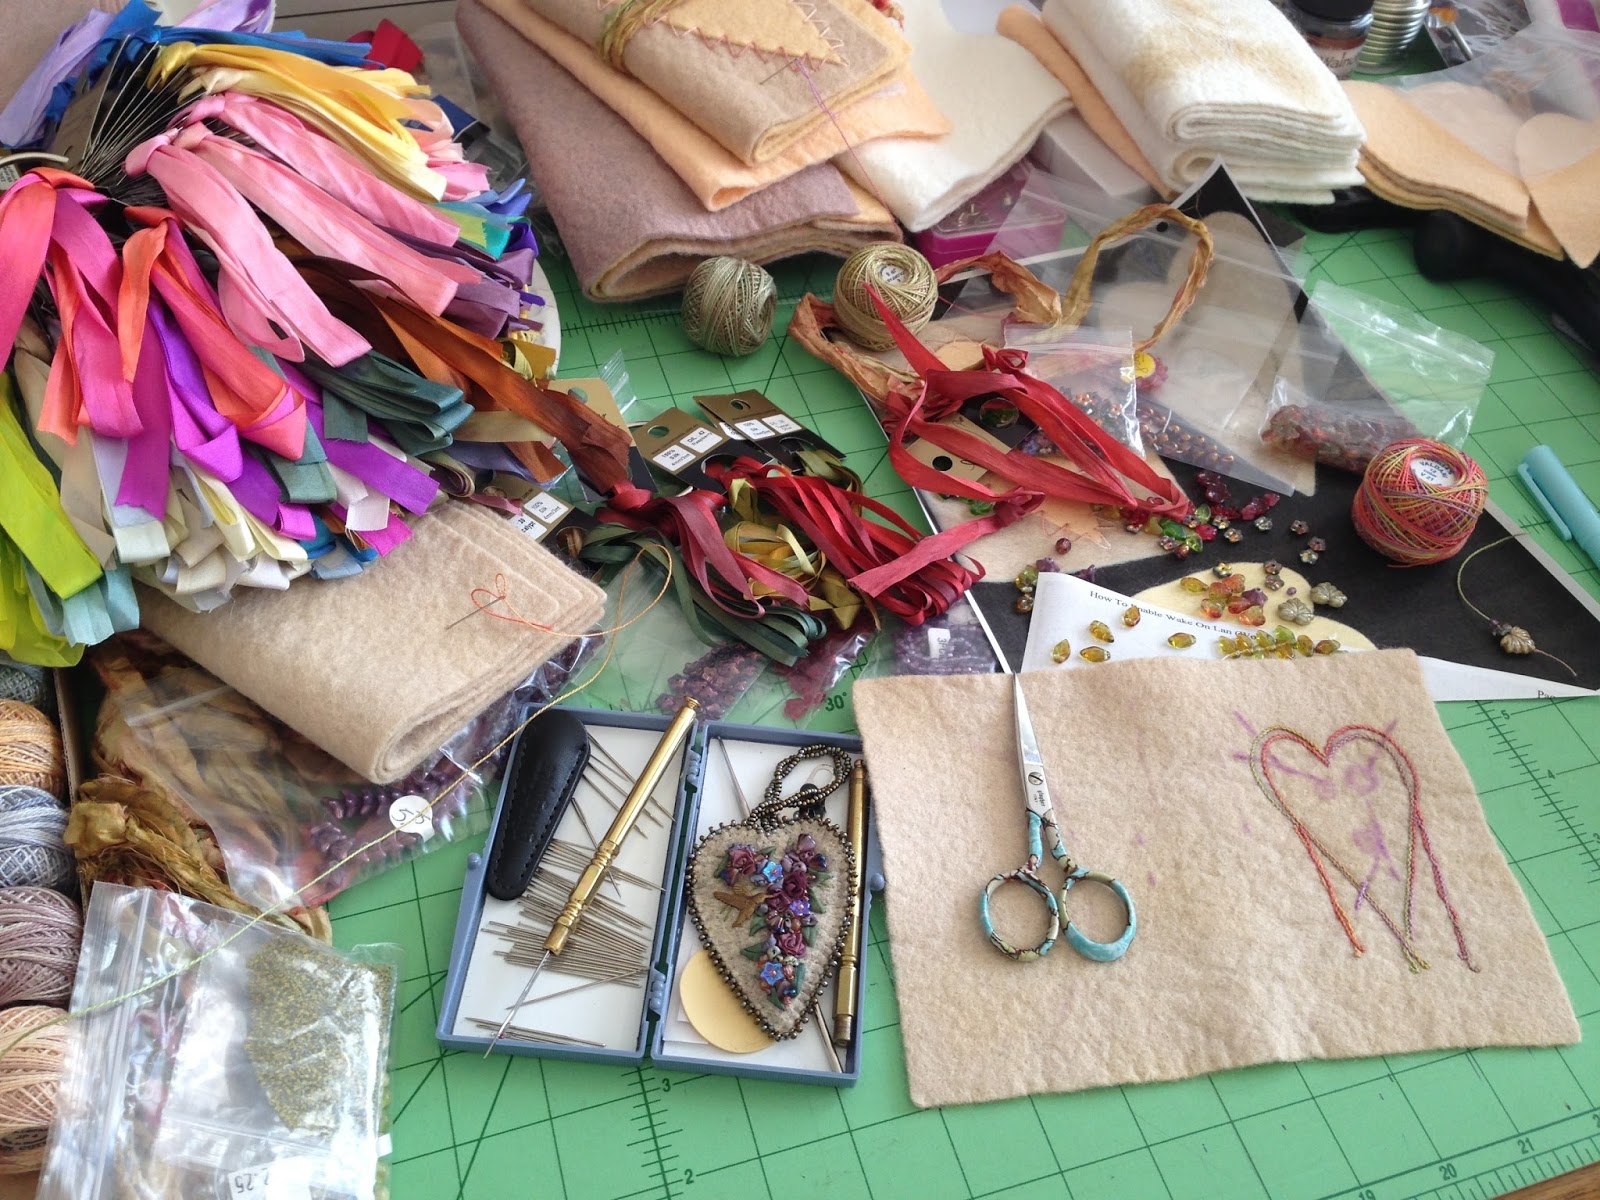
I started by cutting a 12" x 18 piece of wool/rayon felt into quarters. Using these easy instructions from National Nonwovens, I wet the felt and dried it in my clothes dryer to give it a bumpy, vintage look. This also gives the felt a nice edge. It doesn't look sharply cut, and also looks fine without further finishing.
The embroidered design was from a rubber stamp that I had on hand. I used StazOn black ink to stamp the design. Some Valdani thread that I also had on hand matched the ribbons that I wanted to use, so I used that for the embroidery. I thought that the Fresh Linen felt that I began with was still a bit bright when I was done with the embroidery. I tea-dyed all of the felt (even the embroidered piece), and dried it again in the dryer. The tea toned down the thread a little bit, too.
The flowers and leaves were embroidered with Colour Streams silk embroidery ribbons. I began with the leaves first, then added the larger flowers and bigger beads, and finished by filling the design in with French knots and tiny flower beads. The Czech pressed glass flowers and leaves and the butterfly bead were sewn on with size 15 Japanese seed beads using Nymo bead thread. This nylon thread has some give to it, so stretch it between your fingers after you cut it from the bobbin. That will take the curl out of the thread, too, and make it easier to sew with.
The finished needlebook is approximately 4" x 5" closed. The pages were sewn together with small Czech seed beads. It ties with sari silk ribbons. These ribbons are torn and somewhat fragile, so I sewed a running stitch down the length to give them some strength. A few beads were sew onto the ends of the ribbons to give them some weight.
The inside front and back covers both have a bit of embroidery. When opened flat, the center has two narrow embroidered pockets to hold needles or a very small pair of embroidery scissors that will remain securely in place when the book is tied closed.
Here's my finished project.


